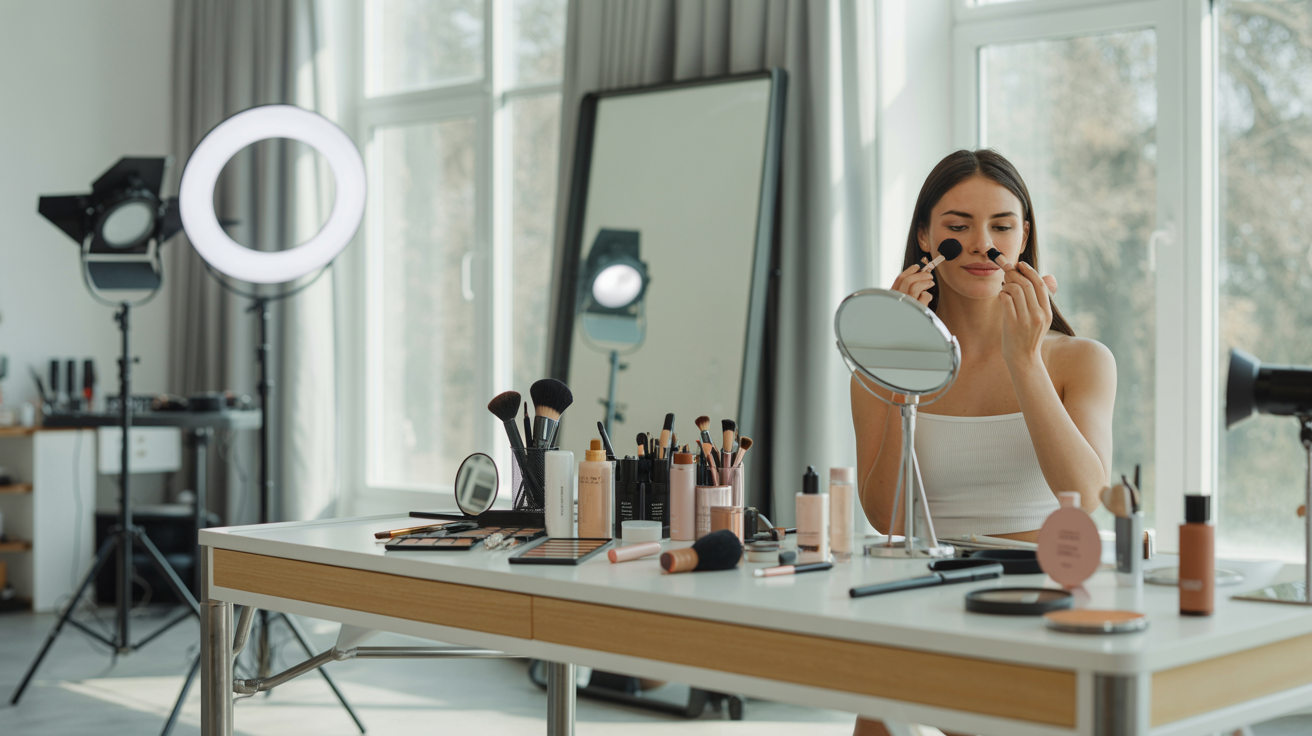
You've booked the photographer, scouted the location, practiced your poses, and planned the perfect lighting setup. But when the photos come back, something feels off — and it's not the composition, the light, or your expression. It's your outfit.
Clothing is one of the most overlooked variables in photography, yet it has an outsized impact on how your final images look. The wrong outfit can distract viewers from your face, create unflattering optical illusions, introduce visual noise that competes with your message, and make even the most technically perfect photo feel amateurish. The right outfit, on the other hand, frames you beautifully, communicates your personality and professionalism, and lets everything else — your expression, your posture, your presence — take center stage.
Whether you're preparing for professional headshots, a personal branding session, social media content, a portrait shoot, or any other type of photography, this guide covers the ten most common photoshoot outfit mistakes — and exactly what to do instead. These principles apply to everyone, regardless of gender, body type, or style preference.
Mistake #1 — Wearing Busy Patterns and Prints
Patterns are one of the most common photoshoot outfit mistakes, and one of the most damaging. Busy prints — florals, paisleys, abstract graphics, animal prints — draw the viewer's eye away from your face and toward your clothing. In a portrait or headshot, your face should always be the focal point. A loud pattern competes for that attention and loses.
There's also a technical issue called the moiré effect, which occurs when fine, repetitive patterns (thin stripes, small checks, herringbone weaves, tight houndstooth) interact with the camera sensor's pixel grid. The result is a distracting, shimmering interference pattern that appears in the final image — something that's difficult or impossible to fix in post-processing.
What to wear instead: Solid colors are your safest and most versatile choice for photoshoots. They keep the focus on you, photograph cleanly, and are easy to coordinate with backgrounds. If you want visual interest, opt for subtle textures — a ribbed knit, a linen weave, a fine-gauge cable — rather than printed patterns. Texture adds dimension and tactile richness without the visual noise of a busy print.
Mistake #2 — Choosing Colors That Clash With Your Skin Tone or Background
Color is one of the most powerful tools in your photoshoot wardrobe — and one of the easiest to get wrong. Camera sensors read color differently than the human eye, and colors that look great in your bathroom mirror can look washed out, garish, or unflattering in a photograph.
The key is understanding your undertone — the subtle warm, cool, or neutral quality beneath your skin's surface color — and choosing clothing colors that complement rather than clash with it.
- Warm undertones (golden, peachy, or olive skin): Earth tones, warm neutrals (camel, rust, terracotta), rich jewel tones (emerald, burgundy, mustard), and warm whites work beautifully. Avoid stark white and cool grays, which can make warm skin look sallow.
- Cool undertones (pink, rosy, or bluish skin): Cool jewel tones (sapphire, amethyst, teal), cool neutrals (charcoal, slate, navy), and true white are flattering. Avoid orange-based tones and warm yellows, which can clash with cool undertones.
- Neutral undertones: Lucky you — you can wear almost any color. Focus on saturation and value (light vs. dark) rather than temperature.
Beyond skin tone, consider your background. If you're shooting against a white or light grey backdrop, avoid wearing white or very light colors — you'll blend into the background and lose definition. If you're shooting outdoors against green foliage, avoid wearing green. The goal is enough contrast between you and your background that you read clearly as the subject.
Mistake #3 — Wearing Ill-Fitting Clothes
Fit is everything in photography. The camera has a flattening effect — it compresses three-dimensional space into a two-dimensional image — and this compression makes fit issues more visible, not less. Clothes that are slightly too tight will look noticeably too tight in photos. Clothes that are slightly too loose will look baggy and shapeless.
Too tight: Pulling fabric, visible seam stress, and bunching around the torso or shoulders are all amplified on camera. Tight clothing can also restrict your movement and make it harder to relax into natural, comfortable poses.
Too loose: Oversized clothing can obscure your shape entirely, making you look smaller or less defined than you are. Excess fabric bunches and wrinkles in unflattering ways, especially when you're seated or moving.
What to wear instead: Aim for clothes that fit your body well — not skin-tight, not boxy. For structured pieces like blazers, jackets, and button-down shirts, consider going up one size and having them tailored if needed. A well-tailored garment always photographs better than an off-the-rack piece in the wrong size. If you're planning a photoshoot, schedule a fitting or try-on session at least a week in advance so you have time to make adjustments.
Mistake #4 — Ignoring Fabric and Texture
Not all fabrics photograph equally. Some fabrics wrinkle badly under studio lights or after a few minutes of wear, creating a disheveled look that's hard to fix without reshooting. Others reflect light in ways that create distracting glare or hotspots on your clothing.
Fabrics to avoid:
- Satin and silk: Highly reflective, prone to creating bright hotspots under studio or flash lighting
- Sheer fabrics: Can become transparent under strong light, revealing undergarments or skin unexpectedly
- Linen (unblended): Wrinkles almost immediately and can look rumpled within minutes of wearing
- Velvet: Can look flat and absorb too much light, losing texture detail in photos
Best fabrics for photos:
- Cotton (medium-weight): Clean, matte, wrinkle-resistant enough for most shoots
- Ponte or scuba knit: Structured, smooth, holds its shape beautifully on camera
- Wool or wool blends: Excellent texture, drapes well, photographs with depth and richness
- Jersey knit: Comfortable, moves well, minimal wrinkle issues
Texture is your friend in photography — it adds visual interest and dimension to an otherwise flat image. A chunky knit sweater, a textured blazer, or a structured linen-blend jacket all photograph with a richness that a plain, smooth fabric can't match.
Mistake #5 — Wearing Logos, Text, and Branded Items
That vintage band tee, the hoodie with your favorite brand's logo, the cap with the sports team emblem — these might be staples of your everyday wardrobe, but they're almost always a mistake for photoshoots.
Why logos and text are problematic:
- They date your photos immediately — a logo or brand name anchors your image to a specific moment in time
- Text on clothing competes with your face for the viewer's attention, pulling the eye downward
- Logos can create legal and licensing issues if your photos are used commercially
- Brand logos can conflict with your own personal or professional brand identity
The exception: If you're a brand ambassador, content creator with a specific brand partnership, or a business owner intentionally incorporating your brand's visual identity into your photos, logos can be appropriate and intentional. But this should be a deliberate choice, not a default.
What to wear instead: Clean, logo-free basics in solid colors or subtle textures. These are timeless, versatile, and keep the focus exactly where it belongs — on you.
Mistake #6 — Not Testing Your Outfit on Camera Beforehand
This is one of the most preventable mistakes, and one of the most common. You choose your outfit based on how it looks in the mirror, show up to your photoshoot, and only discover the problems when you see the photos — by which point it's too late.
The camera test: Before any photoshoot, take a series of selfies or have someone photograph you in your planned outfit. Do this under lighting conditions similar to your shoot — if you're shooting in a studio with flash, test under bright indoor light; if you're shooting outdoors, test in natural daylight.
What to check:
- Transparency: Does the fabric become see-through under bright light? This is especially common with white and light-colored fabrics.
- Color accuracy: Does the color look the same on camera as it does in person? Some colors shift significantly when photographed.
- Fit: Does the garment fit the way you expect when you're moving, sitting, and standing?
- Wrinkles: Does the fabric wrinkle quickly? If so, plan to steam or iron it immediately before the shoot.
- Moiré: If you're wearing any pattern, check for the shimmering interference effect described in Mistake #1.
This five-minute test can save you from discovering a major problem after the fact.
Mistake #7 — Bringing Only One Outfit Option
Even if you've done your camera test and you're confident in your chosen outfit, bringing only one option to a photoshoot is a risk. Unexpected issues happen — a spill, a wardrobe malfunction, a lighting setup that doesn't work with your color choice, or simply a creative direction that calls for a different look.
More importantly, variety in your photoshoot wardrobe gives you more versatility in your final image library. Different outfits communicate different aspects of your personality and can be used across different contexts — a professional headshot for LinkedIn, a casual portrait for your website's About page, a more expressive look for social media content.
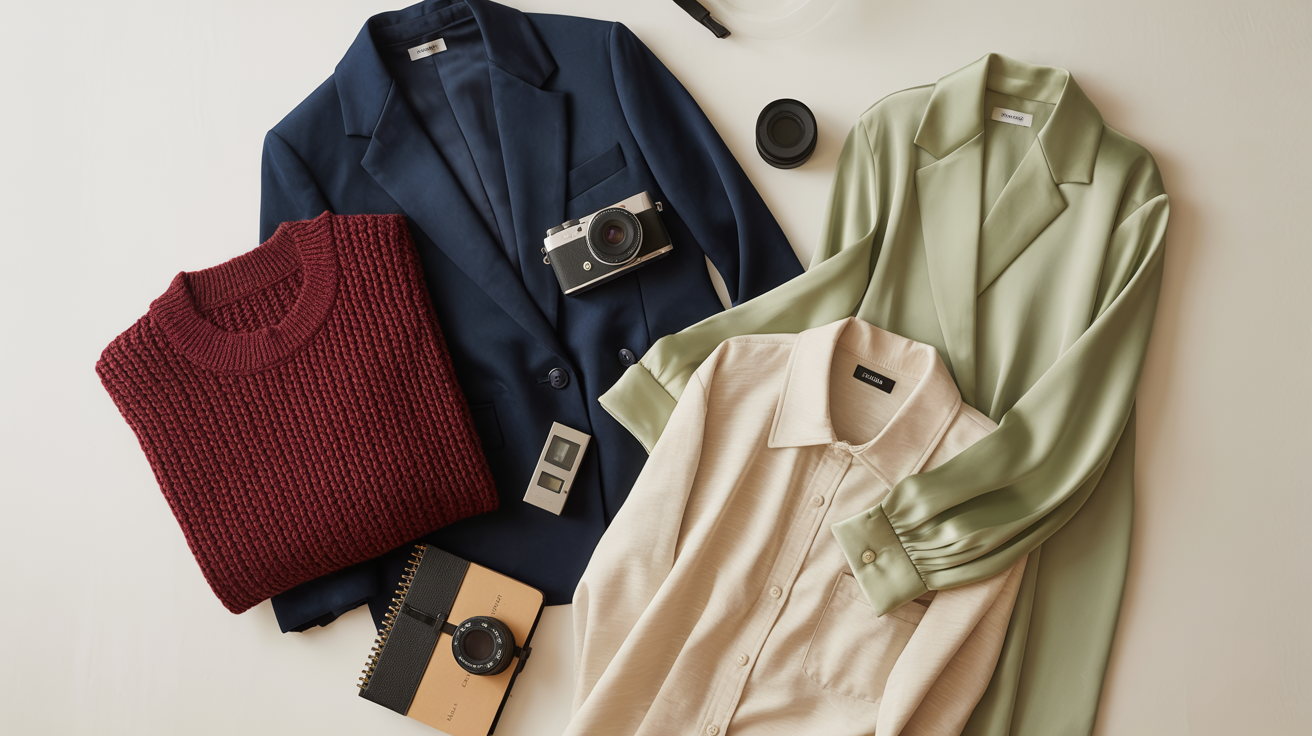
The 3-outfit formula for any photoshoot:
1. Professional/polished: A structured blazer, a clean button-down, a tailored dress or trousers — something that communicates competence and credibility
2. Casual/approachable: A well-fitted sweater, a relaxed but put-together top, something that feels warm and accessible
3. Statement/personality: Something that expresses your individual style — a bold color, an interesting texture, a piece that feels distinctly *you*
Pack each outfit in a garment bag to keep it wrinkle-free, and bring a small steamer or wrinkle-release spray for touch-ups on the day.
Ready to see how your photos could look with the right outfit and professional-quality enhancement? Try Glowup AI — the AI photo platform that helps individuals, creators, and small business owners get stunning, professional-quality images without the studio price tag.
Mistake #8 — Forgetting About Accessories and Details
Accessories can make or break a photoshoot look, and they're often an afterthought. But the camera picks up every detail — and small details that you barely notice in person can become major focal points in a photograph.
Jewelry: Statement jewelry can be beautiful in photos, but it can also create problems. Large, highly reflective pieces (chunky gold chains, rhinestone earrings, mirrored pendants) can catch studio light and create distracting glare. Delicate, matte-finish jewelry tends to photograph more cleanly. If you're wearing earrings, make sure they're symmetrical and secure — asymmetrical or dangling earrings can shift during a shoot and look uneven in photos.
Glasses: If you wear glasses, glare is a real concern. Anti-reflective coating helps significantly, but even with coating, certain lighting angles can create reflections. Discuss this with your photographer in advance — they can adjust the lighting angle to minimize glare, or you can bring a pair of frames without lenses as a backup.
Shoes: Even if your photoshoot is primarily from the waist up, bring shoes that complete your outfit. Full-length shots happen, and mismatched or inappropriate footwear can undermine an otherwise polished look.
Small details: Nail care, visible tags or labels, lint and pet hair, and loose threads all show up clearly in high-resolution photos. Do a full detail check in a well-lit mirror before your shoot, and bring a lint roller, small scissors, and safety pins for on-the-spot fixes.
Mistake #9 — Wearing Something Brand New (Never Worn Before)
It's tempting to buy a new outfit specifically for your photoshoot — and there's nothing wrong with investing in something special. But wearing a brand-new garment for the first time on the day of your shoot is a mistake.
New clothes haven't been broken in. They may be stiffer than expected, fit differently when you're moving versus standing still, or have subtle issues (a waistband that rolls, a neckline that gaps, a hem that's slightly uneven) that you'd only discover after wearing them for a few hours.
The rule: Wear any new photoshoot outfit at least once — ideally twice — before the shoot. This gives you time to:
- Discover any fit or comfort issues while you still have time to exchange or alter the garment
- Break in the fabric so it moves and drapes naturally
- Confirm that the outfit looks and feels the way you expected
- Identify any care issues (does it wrinkle badly? does it stretch out?)
If you're buying something new specifically for a photoshoot, purchase it at least two weeks in advance and wear it for a full day before the shoot.
Mistake #10 — Dressing for the Mirror, Not the Camera
This is perhaps the most subtle mistake on this list, but it's one of the most important to understand. The way you look in a mirror and the way you look in a photograph are genuinely different — and the difference goes beyond just reversing left and right.
Mirrors show you a real-time, three-dimensional view of yourself. You see depth, movement, and the way light plays across your features dynamically. Cameras capture a single, flat, two-dimensional moment. This compression changes how colors, proportions, and textures read.
What this means for outfit selection:
- Contrast matters more on camera. An outfit that looks subtly interesting in the mirror may look flat and undifferentiated in a photo. Aim for slightly more contrast — between your outfit and your background, between different elements of your look — than you think you need.
- Proportion reads differently. Wide-leg trousers that look balanced in the mirror may look overwhelming in a photo if the shot is cropped at the knee. High-waisted pieces that look elegant in person may look awkward if the waistline falls at an unflattering crop point.
- Details are amplified. Small details that you barely notice in the mirror — a slightly uneven collar, a small stain, a loose button — become much more visible in a high-resolution photograph.
The photographer's mindset: When choosing your photoshoot outfit, try to think in terms of how the camera will see you, not how you see yourself in the mirror. Take test photos (see Mistake #6), look at reference images of people in similar outfits, and ask for honest feedback from someone whose eye you trust.
Building Your Perfect Photoshoot Wardrobe: A Quick Reference Guide
Now that you know what to avoid, here's a practical framework for building a photoshoot wardrobe that works every time.
The Photoshoot Outfit Checklist
DO:
- ✅ Choose solid colors or subtle textures
- ✅ Select colors that complement your skin tone
- ✅ Ensure everything fits well — not too tight, not too loose
- ✅ Choose matte, medium-weight fabrics that drape well
- ✅ Test every outfit on camera before the shoot
- ✅ Bring 2-3 outfit options
- ✅ Wear new outfits at least once before the shoot
- ✅ Check all details: accessories, shoes, nails, lint
AVOID:
- ❌ Busy patterns, fine stripes, and small checks (moiré risk)
- ❌ Colors that clash with your skin tone or background
- ❌ Ill-fitting garments (too tight or too loose)
- ❌ Shiny, reflective, or highly transparent fabrics
- ❌ Logos, text, and branded items (unless intentional)
- ❌ Brand-new, unworn garments
- ❌ Highly reflective jewelry under studio lighting
The 3-Outfit Formula
For any photoshoot — whether it's a professional headshot session, a personal branding shoot, a social media content day, or a portrait session — aim to bring three coordinated looks:
1. The Professional Look: Structured, polished, credibility-forward. Think blazers, tailored shirts, clean knits, or structured dresses. This is your LinkedIn headshot, your website bio photo, your press kit image.
2. The Approachable Look: Relaxed but intentional. A well-fitted sweater, a casual button-down, a comfortable but put-together ensemble. This is your social media content, your "About Me" page, your community-facing presence.
3. The Personality Look: Something that expresses who you are beyond your professional role. A bold color, an interesting texture, a piece that feels distinctly personal. This is your Instagram grid, your creative portfolio, your brand story.
How AI Photo Platforms Can Help
One of the most powerful ways to prepare for a photoshoot — and to maximize the value of your images afterward — is to use an AI photo platform like Glowup. Glowup uses advanced AI to enhance your photos, refine details, and help you look your absolute best across every image. Whether you're a professional building a personal brand, a small business owner creating marketing visuals, a content creator building a social media presence, or simply someone who wants great photos for any purpose, Glowup gives you professional-quality results without the professional price tag.
After your photoshoot, Glowup can help you select the best shots, enhance lighting and detail, and create a polished, consistent image library that works across every platform and context.
Conclusion: Your Outfit Is Part of Your Story
Great photos are the result of many variables working together — lighting, composition, posing, expression, and yes, your outfit. The clothes you wear in a photoshoot aren't just background detail; they're an active part of the visual story you're telling. They communicate your personality, your professionalism, your creativity, and your attention to detail.
By avoiding the ten mistakes in this guide — busy patterns, clashing colors, poor fit, problematic fabrics, logos, untested outfits, single-option packing, overlooked accessories, brand-new garments, and mirror-only thinking — you give yourself the best possible foundation for photos that truly represent you at your best.
Plan ahead, test on camera, bring options, and think like a photographer. Your future self — the one looking at a gallery of stunning, professional-quality images — will thank you.
Ready to take your photos to the next level? Sign up for Glowup and discover how AI-powered photo enhancement can transform your images — whether you're building a personal brand, growing a business, creating social media content, or simply wanting photos you're proud to share.